Tools you'll need:
Before you get started, make sure you have the following:
1
A filter housing wrench
This is used to unscrew the filter housings. One is usually included with your Bug Buster system.
2
New replacement filters
You’ll need the correct sediment and/or carbon filters depending on whether you have a 3-stage or 4-stage system.
3
Food-grade silicone lubricant
This helps keep the housing O-rings sealed properly and prevents leaks. Use only a small amount if the O-rings appear dry.
4
A clean cloth or paper towel
Handy for wiping out the filter housings and cleaning up any drips or spills.
5
Access to the water mains and power switch
You’ll need to turn off both before starting to ensure a safe and smooth process.
6
A bucket or towel
Useful for catching any water left in the housings when you open them.

Video Step by Step
Video How-To
The Bug Buster system is designed to make clean, safe water simple, whether you’re using tank, rain, or bore water. But like any hardworking system, it needs a little upkeep to keep performing at its best.
The good news? Replacing the filters is quick and easy. With just a few steps, you can keep your water fresh, your flow strong, and your system in top shape, all without needing a plumber. In this guide, we’ll show you exactly how to replace your filters so your Bug Buster can continue to deliver high-quality water you can rely on.
Instructions
How to replace your filter
Before you begin, make sure your system is safely powered down. Start by switching off the power supply to The Bug Buster unit. Then, turn off the water supply at the mains or isolation valve.
This step ensures your system is safe to work on and prevents leaks or water pressure buildup during filter removal.
Turn off the water and power
Step 1
Release pressure in the system
Step 2
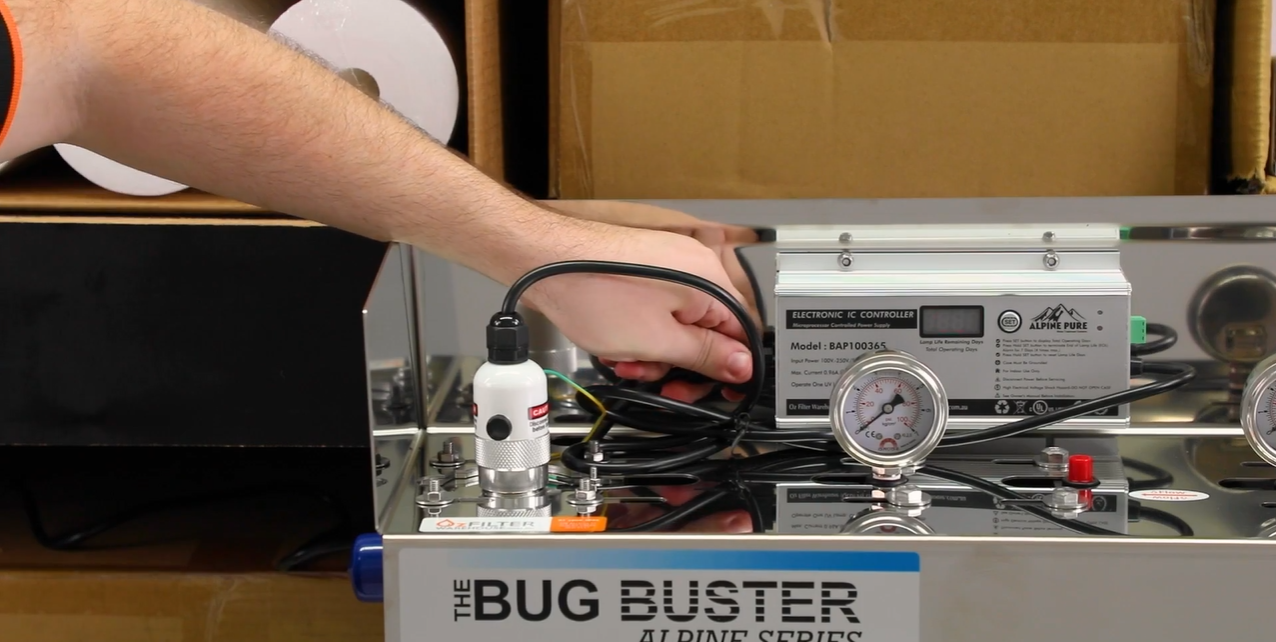
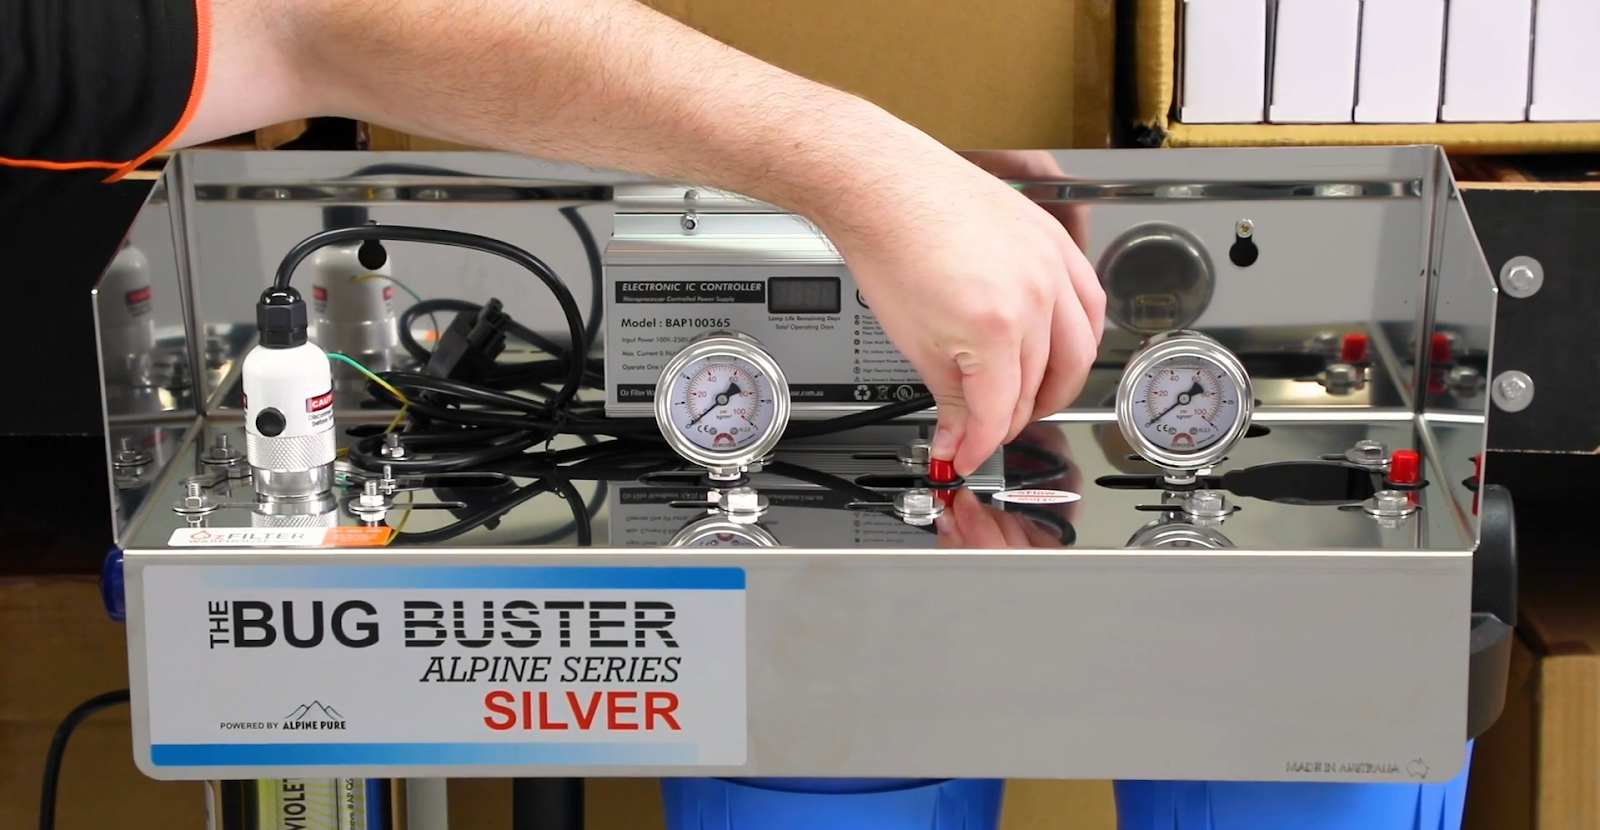
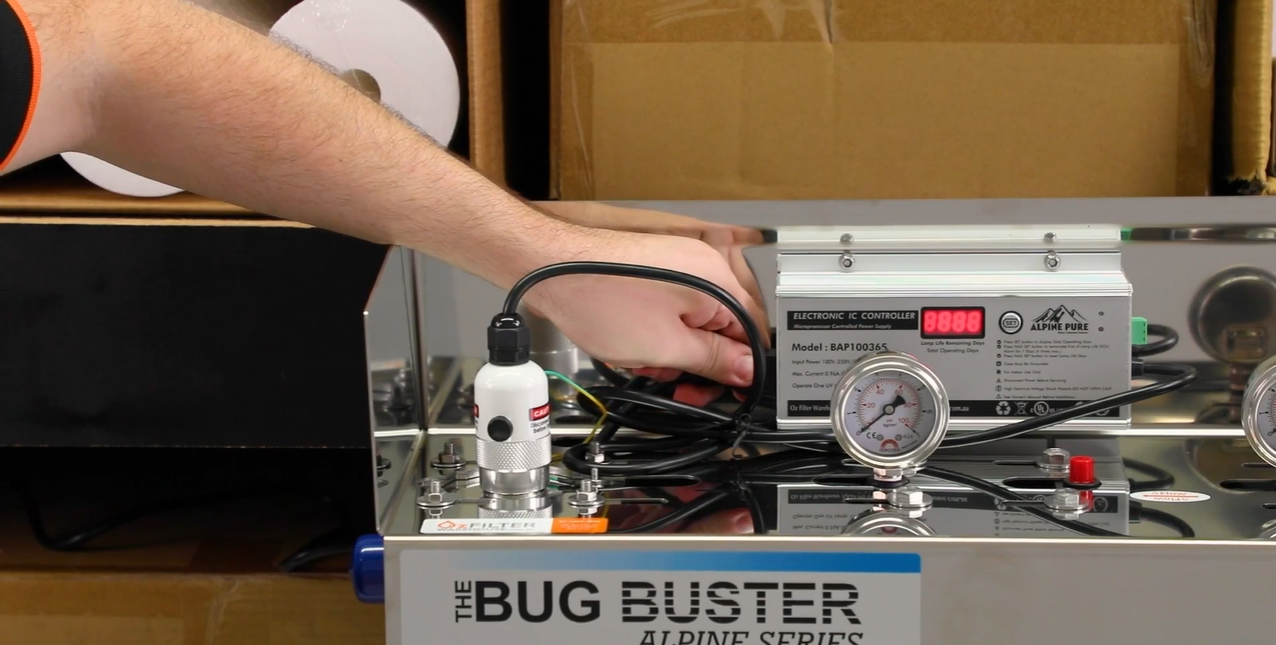
Before opening the housings, it’s important to release any built-up pressure. Start by opening a nearby tap that’s located after the system. This helps relieve water pressure inside the unit.
Then, press the red pressure release button on top of each filter housing. This step ensures the system is fully depressurised and safe to open.
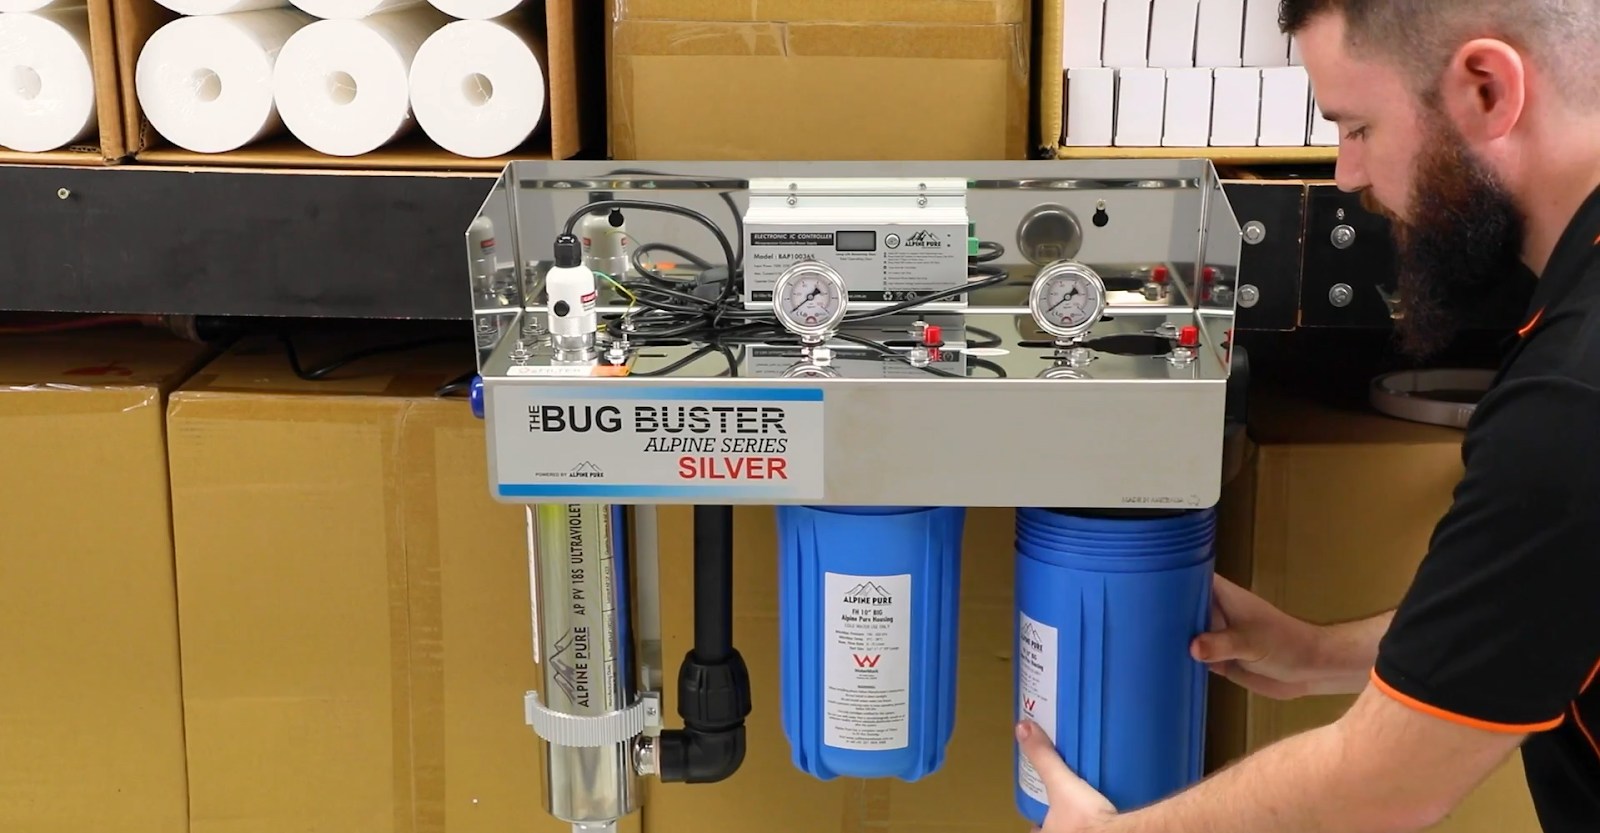
Once pressure is released, use the housing wrench to unscrew the filter housings. Carefully remove the old filters and set them aside.
Check the inside of each housing and rinse them out if there’s any visible sediment or build-up. Clean housings help your new filters work more efficiently.
Remove the old filters
Step 3
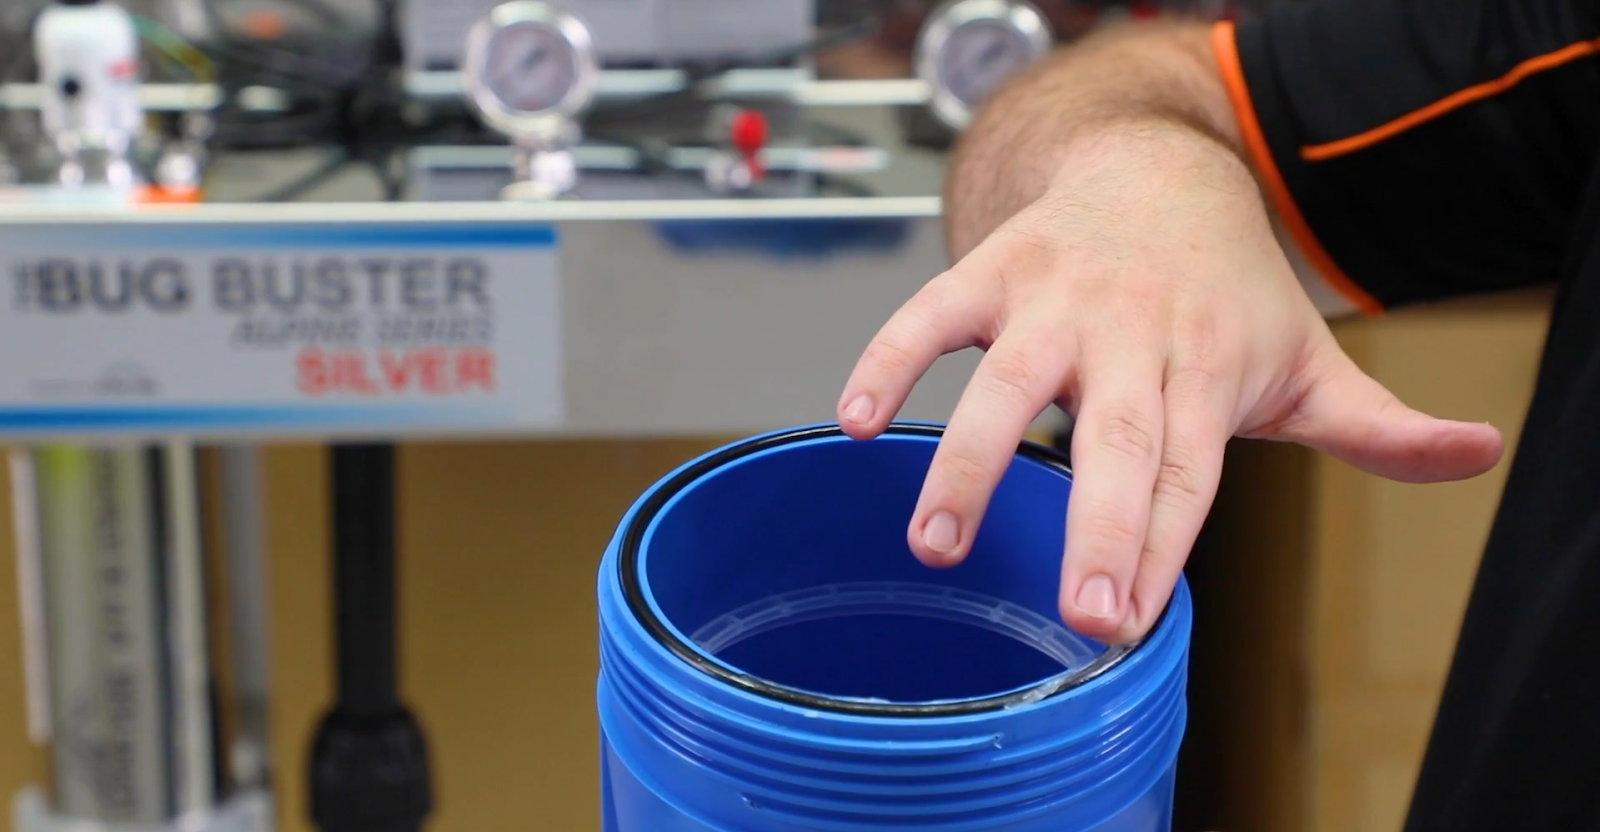
Check the O-ring
Step 4
Before inserting the new filters, check the O-ring inside each housing. If it looks dry or worn, apply a small amount of food-grade silicone lubricant.
This will help to ensure the housings are sealed properly and prevent leaks.
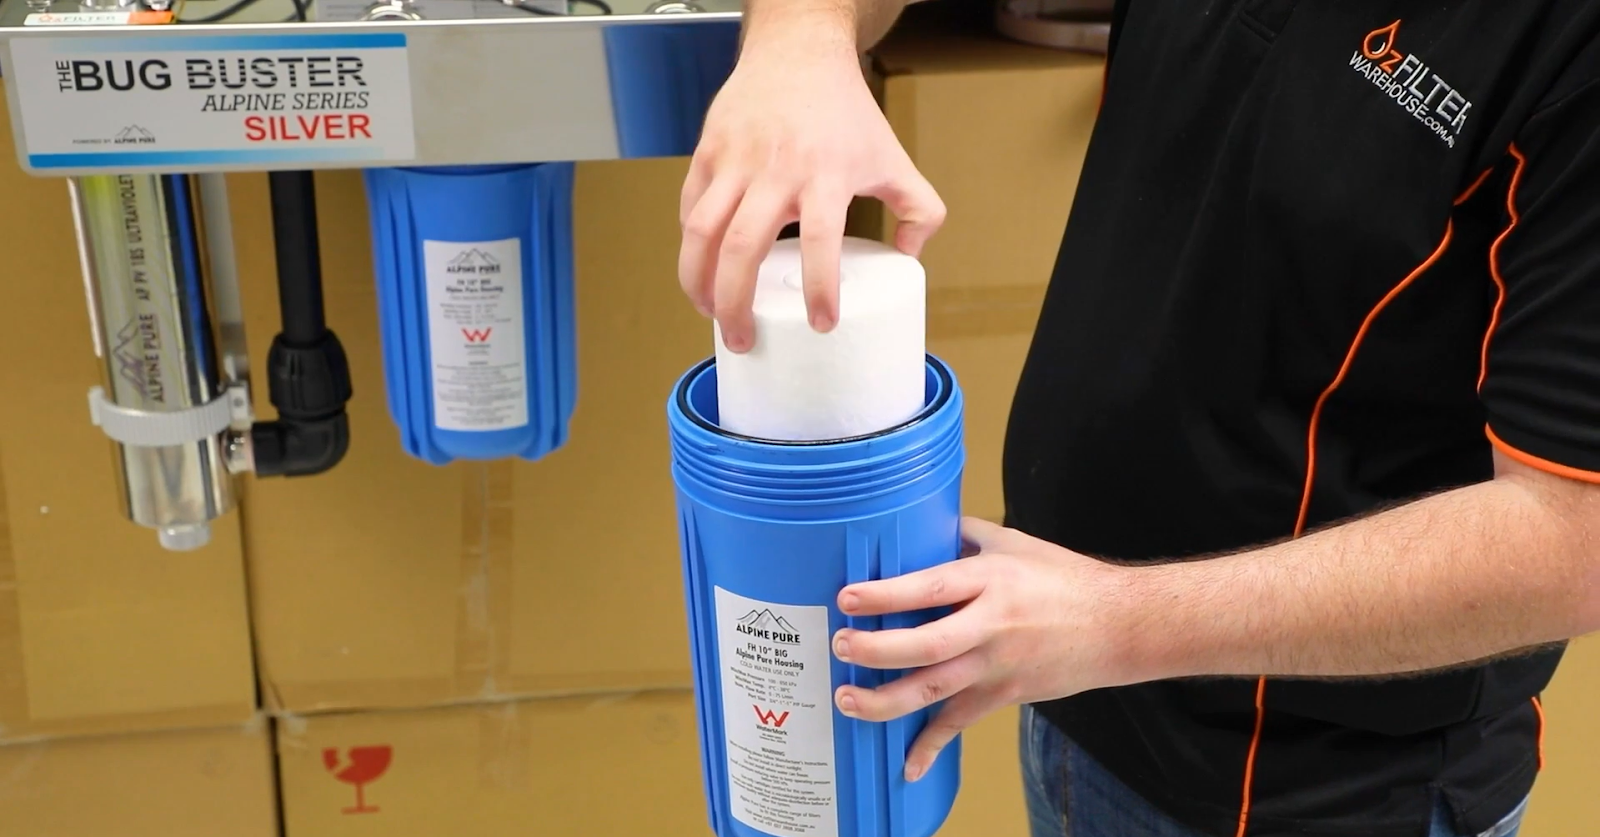
Place the new filters into the housings, making sure they’re seated correctly.
Screw the housings back into place by hand, then use the wrench to give them a final tighten, but be careful not to overtighten.
A snug fit is all you need to keep everything sealed and secure.
Install the new filters
Step 5
Now that your new filters are in place, turn the water supply back on slowly. Then switch the power back on to The Bug Buster unit. Once everything is running, open one or more taps in the house to flush the system. This helps release any trapped air and clears out fine carbon particles if you’ve installed a carbon filter. Let the water run for a few minutes until it flows smoothly and clearly.
Restore water and flush the system
Step 6
Safe water, made easy
Replacing your Bug Buster filters is a simple task that helps keep your water clean, safe, and great-tasting all year round. With a few basic tools and a bit of time, you can take care of your system yourself and avoid unnecessary service costs.
Whether you’re using tank water, bore water, or rainwater, regular filter changes are key to protecting your household and getting the best performance from your Bug Buster.
FAQs
Here are some common questions homeowners ask about replacing filters and maintaining their Bug Buster system.
How does the Bug Buster filtration system work?
The Bug Buster systems use a multi-stage filtration process, including sediment filters to remove dirt and other particles, carbon filters to remove chlorine and unpleasant tastes and odours, and UV sterilisation, to remove parasites, bacteria, and viruses. Therby delivering clean, fresh-tasting water.
How often should I replace the filters?
Filters should generally be replaced every 12 months, but this can vary depending on your water quality and usage.
Can I change my water filter myself, or do I need a plumber?
Filter changes can be done easily at home. However, installation of the system itself must be carried out by a qualified plumber.
Where can I buy the replacement filters and lamps?
Get in touchAll replacement parts, including service kits, are available here on our website.