Tools you'll need:
Before you get started, make sure you have the following:
1
A clean cloth or gloves
These will help you handle the UV lamp without leaving fingerprints, which can damage the glass over time.
2
A microfibre cloth
Use this to gently clean the quartz sleeve if there’s any build-up or staining.
3
A replacement UV lamp
Bug Buster systems use a T5 4-pin lamp, which should be replaced every 12 months.
4
A replacement quartz sleeve
You’ll only need this if the existing sleeve is stained, cloudy, or damaged.
5
Access to the water mains and power switch
You’ll need to turn off both before starting the process to ensure everything is safe.

Step by step
How to replace UV lamp & quartz sleeve replacement (step-by-step)
Keeping The Bug Buster system in top condition doesn’t require complex tools or professional servicing. One of the most important parts of routine maintenance is replacing the UV lamp each year and checking the quartz sleeve for any signs of buildup. This ensures your system continues to eliminate harmful bacteria and viruses, keeping your water safe and clean.
In this short guide, we’ll walk you through step-by-step how to inspect the quartz sleeve and replace the UV lamp. Whether you're a current The Bug Buster owner or considering one for your home, this simple process shows just how easy ongoing maintenance really is.
Start by switching off the power to your Bug Buster UV system. This keeps everything safe while you're working.
Next, turn off the water supply to the unit. This can be done at the mains or using a nearby isolation valve if you have one. It’s important to fully shut off the water before continuing to avoid any unexpected leaks during the process.
Turn off the water and power
Step 1
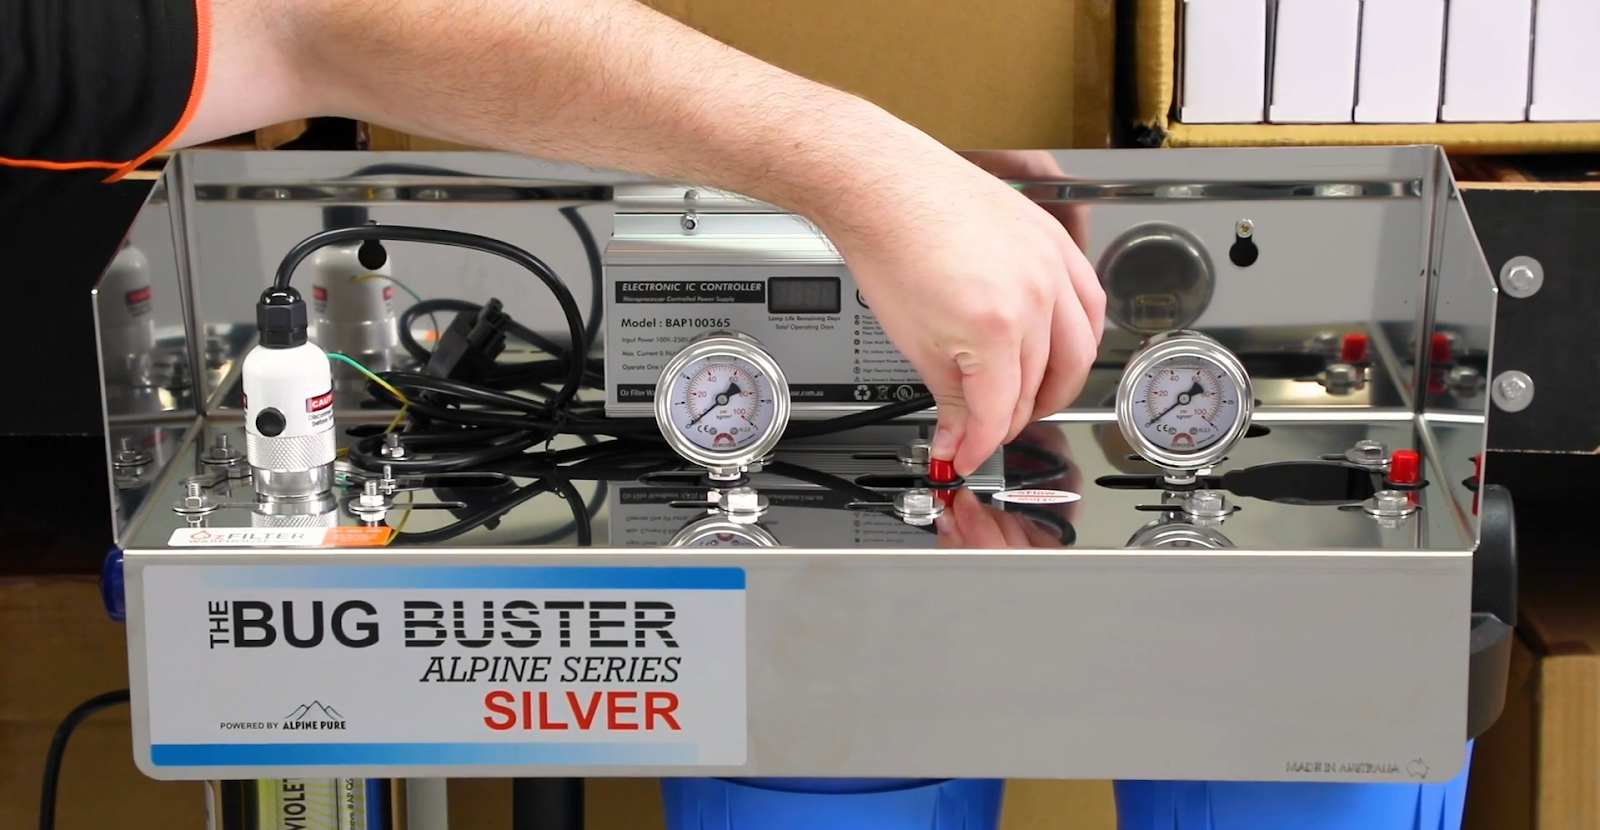
Release pressure in the system
Step 2
To start, open a nearby tap that sits after the Bug Buster system. This helps release any built-up pressure in the lines.
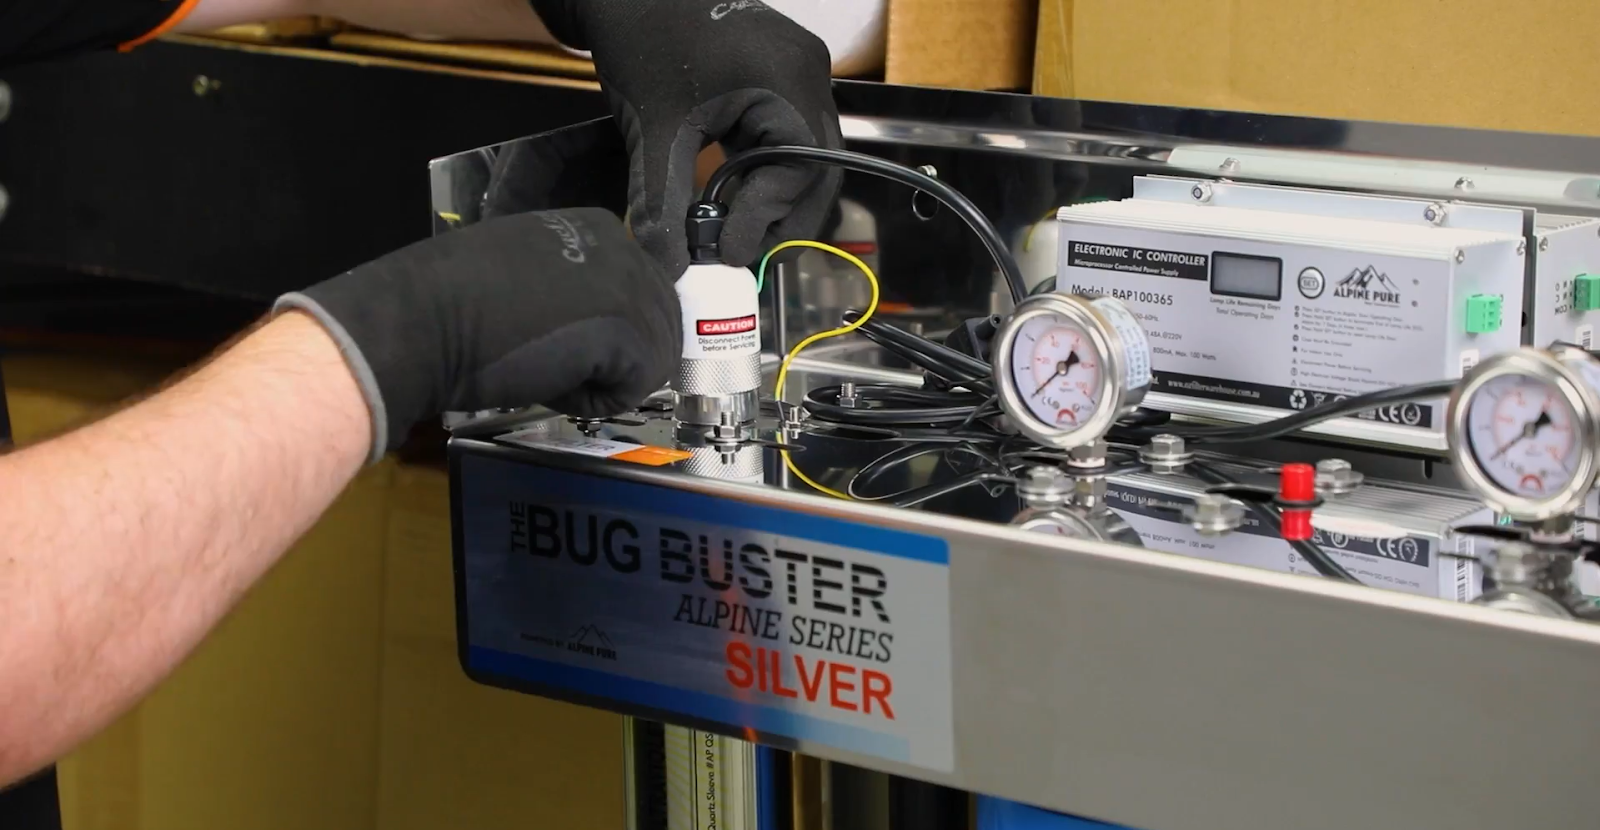
Then, press the red pressure release button located on top of the filter housings. This ensures there’s no remaining pressure inside the unit before you open anything.
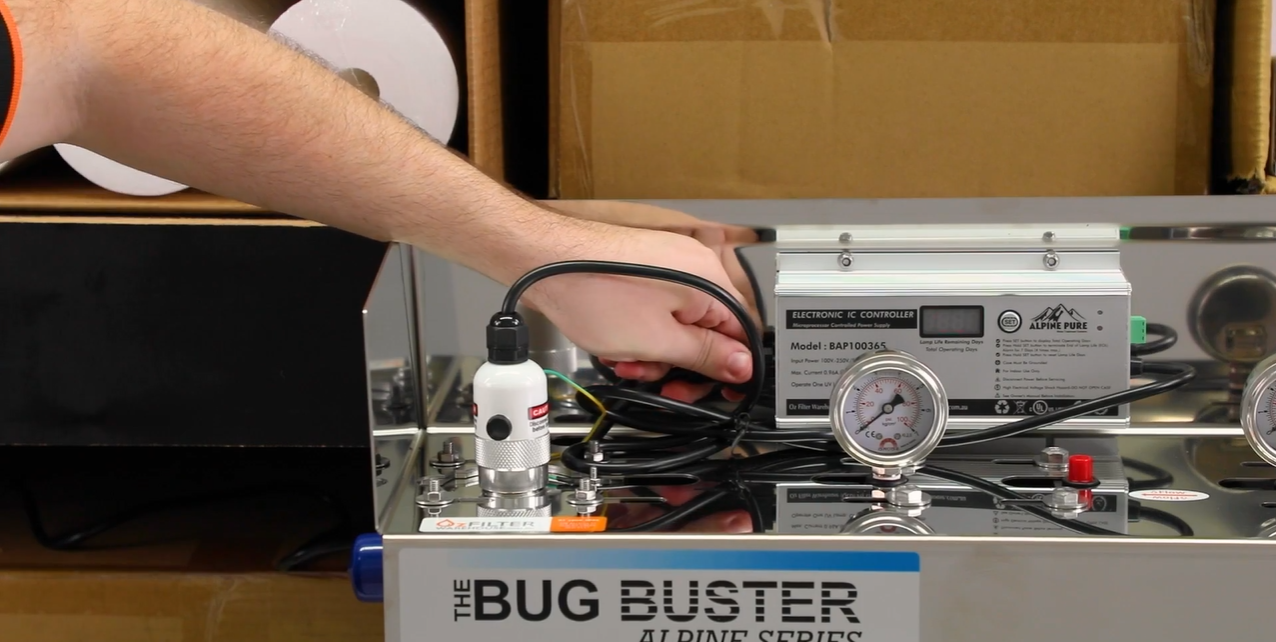
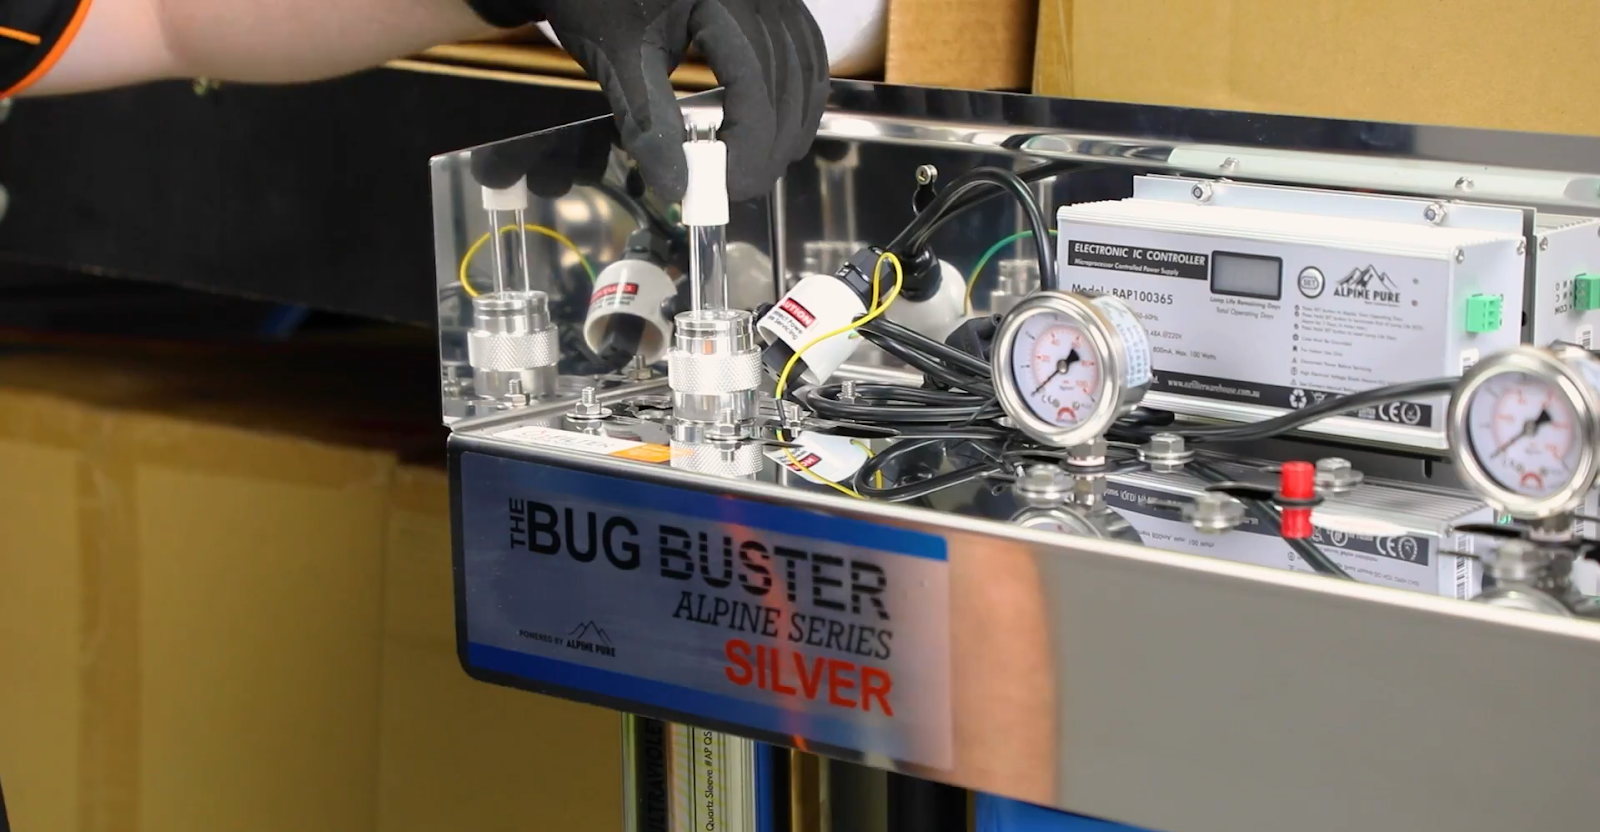
Once the pressure is fully released, unscrew the protective cover on the UV lamp chamber.
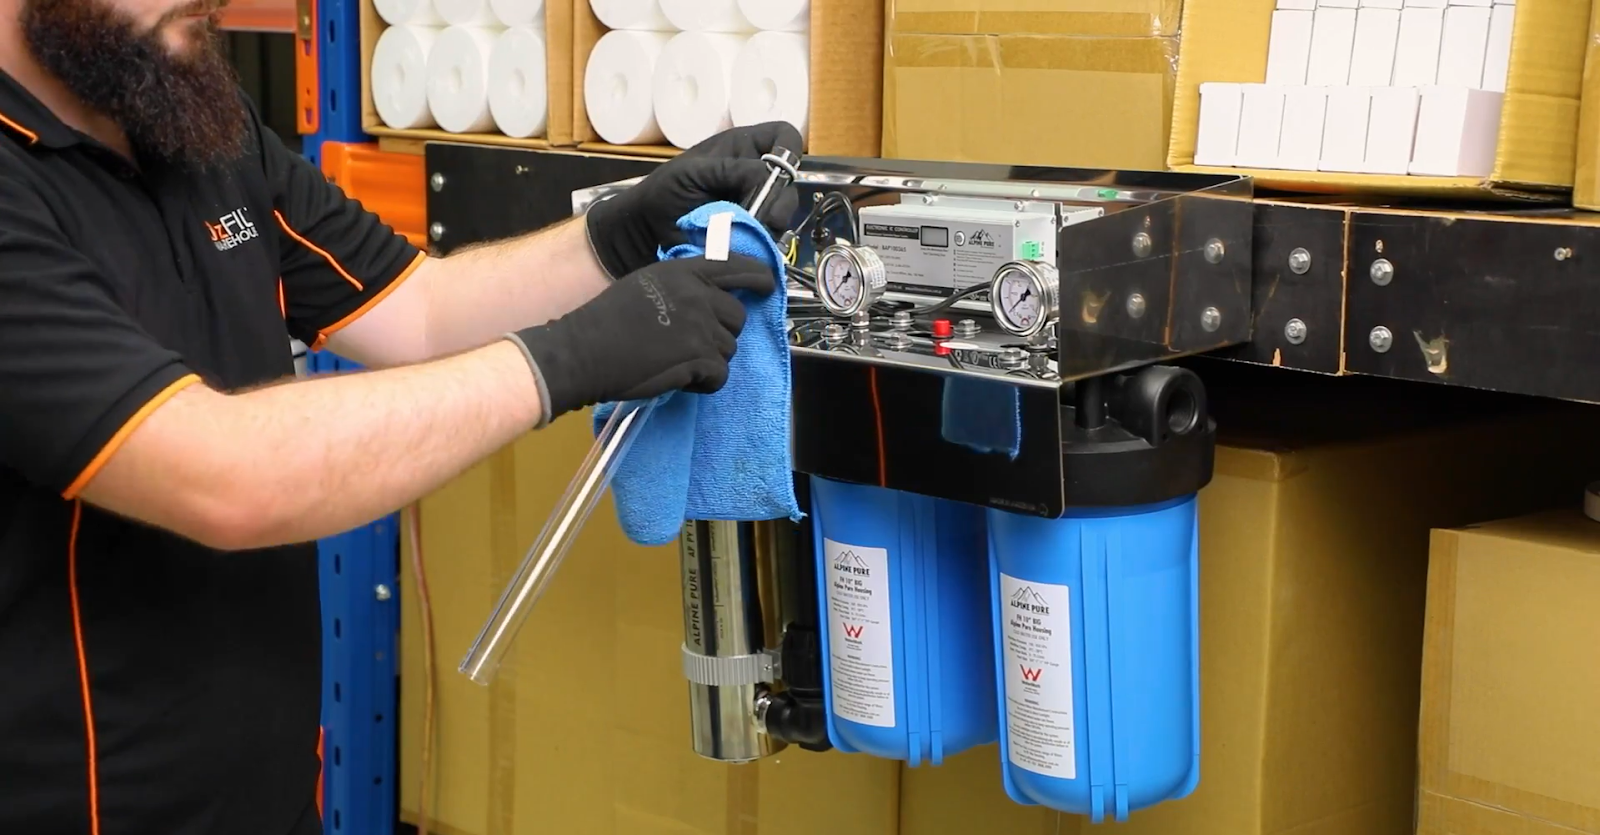
Carefully slide the old lamp out of the chamber. Use a cloth or gloves if you need to handle the lamp directly, and set it down in a safe spot. Avoid touching the glass or knocking it against anything, especially if you may be inspecting it later.
Remove the UV lamp
Step 3
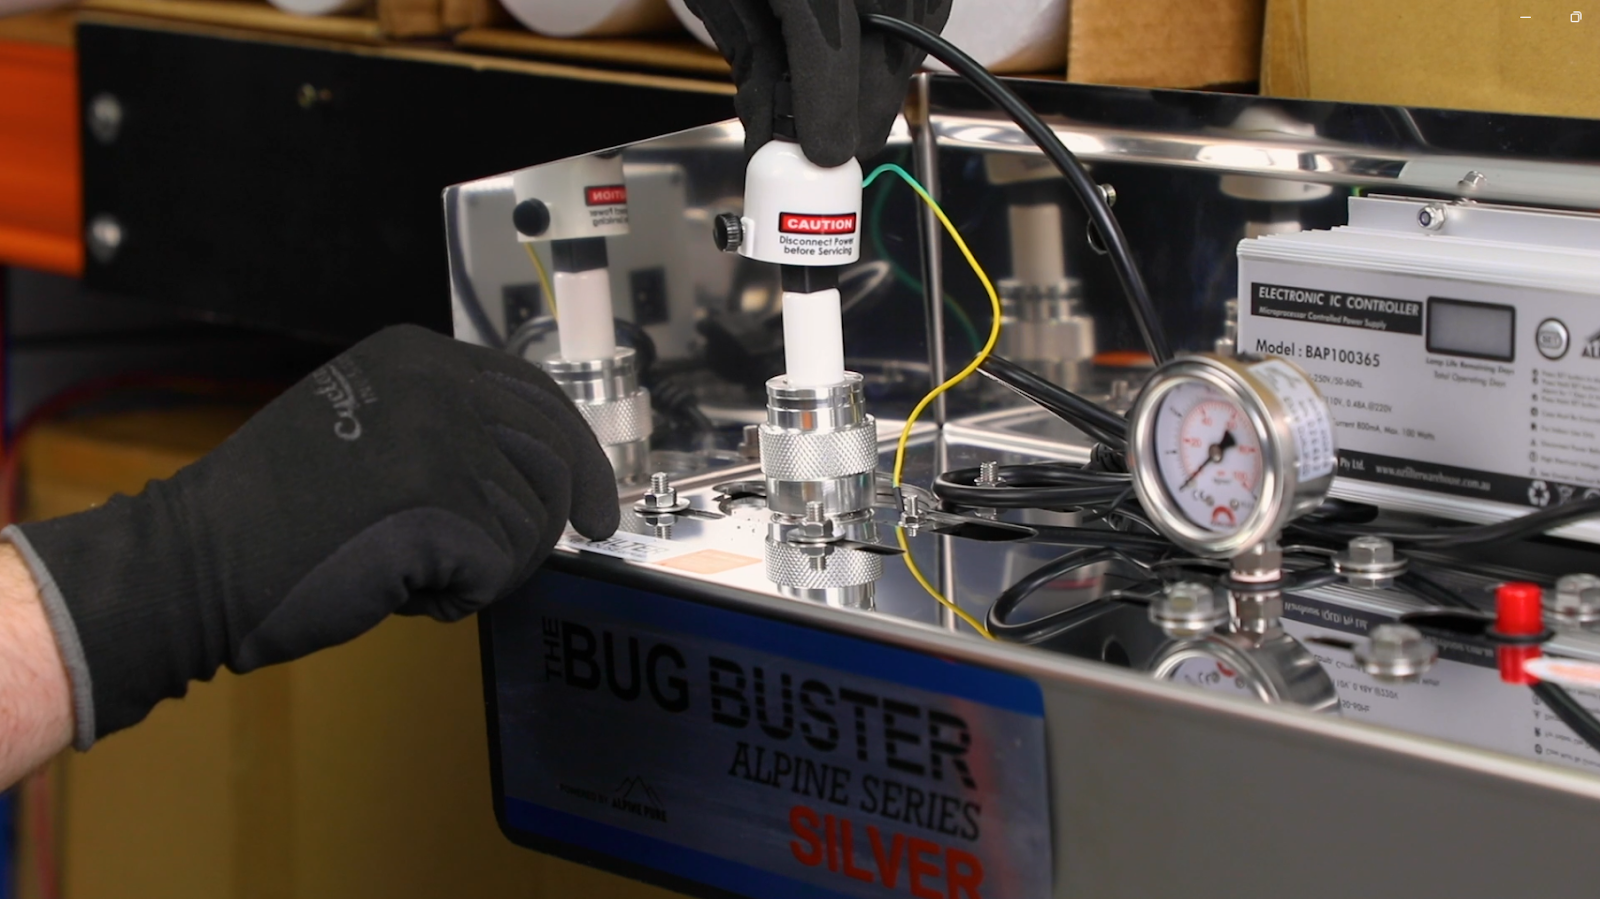
Remove the quartz sleeve
Step 4
Start by gently unscrewing the bottom end cap on the UV chamber. As you do this, water will begin to drain out, this is completely normal.
Once the water has finished draining, unscrew the top cap and carefully slide out the quartz sleeve. Take your time during this step, as the sleeve is made of glass and can break easily if dropped or forced.
Take a close look at the quartz sleeve for any staining, cloudiness, or mineral build-up. If it looks dirty, gently wipe it down with a clean microfibre cloth. Avoid using abrasive materials or chemicals, as they can damage the glass.
If the sleeve is still cloudy or stained after cleaning, it’s best to replace it. A clean, clear sleeve is important for the UV lamp to function effectively.
Inspect and clean the sleeve
Step 5
Once the sleeve is clean (or replaced), carefully slide it back into the chamber. Tighten the top and bottom caps securely by hand, making sure everything sits evenly.
Slowly turn the water supply back on and pressure test the system by checking around the caps for any leaks.
Reinstall the sleeve and check for leaks
Step 6
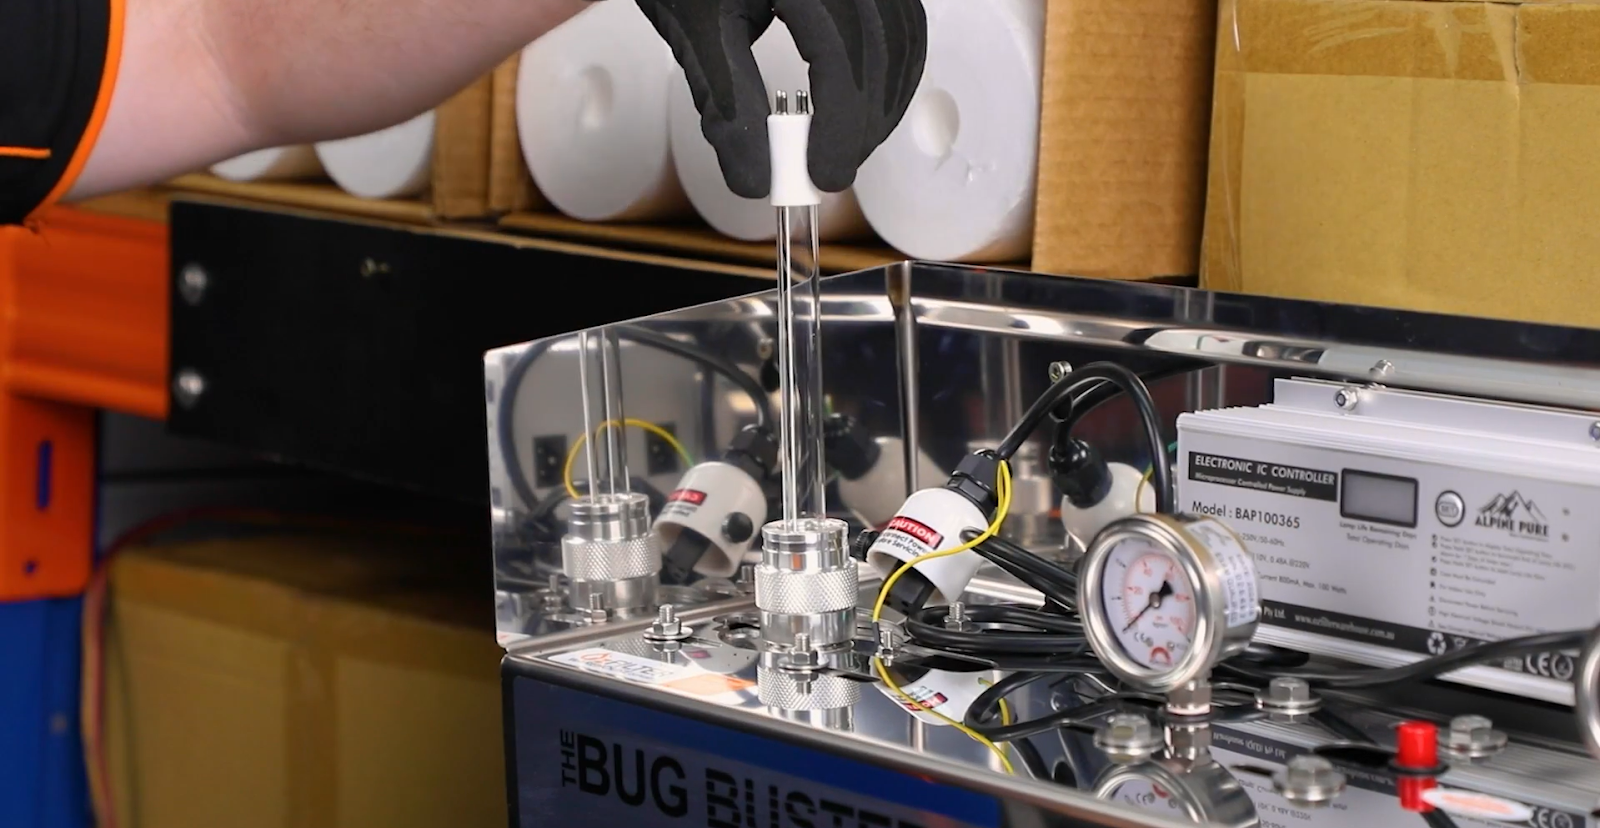
Once the system has passed the pressure check and there are no leaks, you’re ready to install the new UV lamp. Always use a clean cloth or gloves when handling the lamp to avoid leaving fingerprints on the glass. Oils from your skin can cause hot spots and reduce the life of the lamp.
Carefully slide the new T5 4-pin UV lamp into the chamber, making sure it sits securely in place. Once installed, screw the protective lamp cover back on to keep it safe and sealed.
Install the new UV lamp
Step 7
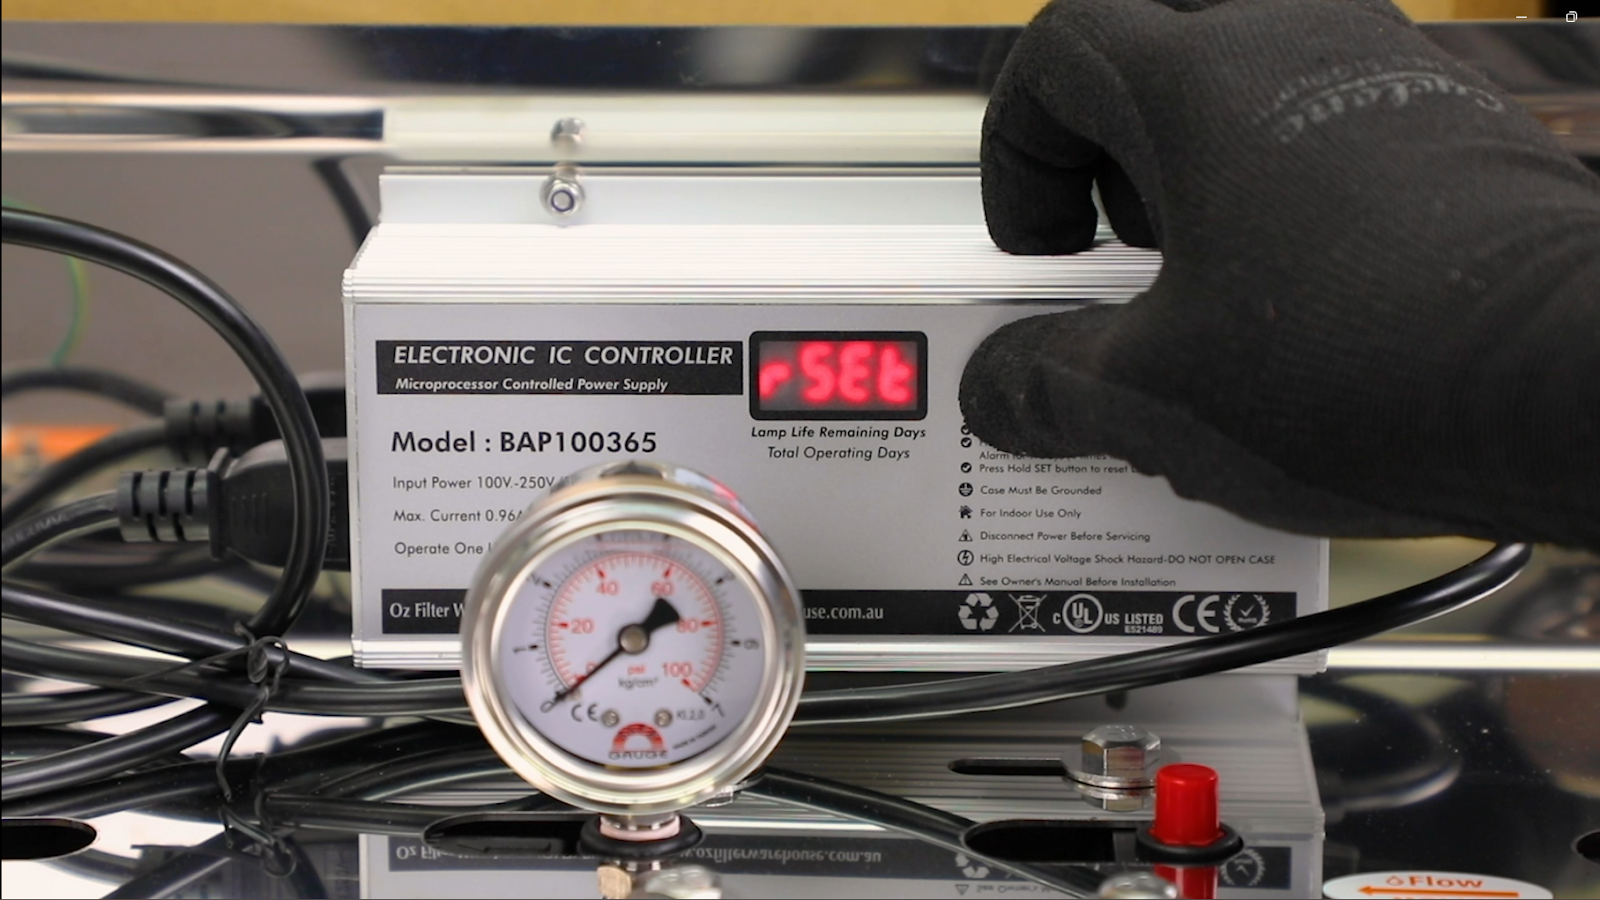
To finish, reset the UV lamp timer so the system can track when the next replacement is due.
Hold down the SET button on the digital ballast for 5 to 10 seconds until “RSET” appears on the screen. This confirms that the timer has been successfully reset. Double-check that everything is running correctly, and you’re all done.
Reset the timer and finish up
Step 8
Safe water, made easy
Replacing the UV lamp and checking the quartz sleeve is a quick, straightforward process - it’s one of the easiest ways to keep The Bug Buster system running safely and effectively. With just a few basic tools and a bit of care, you’ll continue to enjoy clean, safe water for another year.
How often should I replace the UV lamp?
The UV lamp should be replaced every 12 months, even if it still appears to be working. Its effectiveness at neutralising bacteria and viruses reduces over time.
Do I need to replace the quartz sleeve every year?
No, not necessarily. You should check the quartz sleeve each time you replace the UV lamp. The condition of the sleeve depends on what’s in your water. If there’s any residue or it looks less clear than usual, wipe it gently with a microfibre cloth. If the buildup doesn’t come off or the sleeve still looks cloudy, it’s time to replace it.
Can I touch the UV lamp glass with my hands?
It’s best to avoid touching the lamp directly. Use gloves or a clean cloth to prevent skin oils from damaging the glass.
How do I know if the lamp is working after installation?
You should see a soft glow through the UV chamber (but never look directly at the light). Also, make sure your system’s ballast shows no error and the timer has been reset.
Where can I buy replacement parts?
Get in touchAll replacement lamps, quartz sleeves, filters, and accessories are available directly through us.